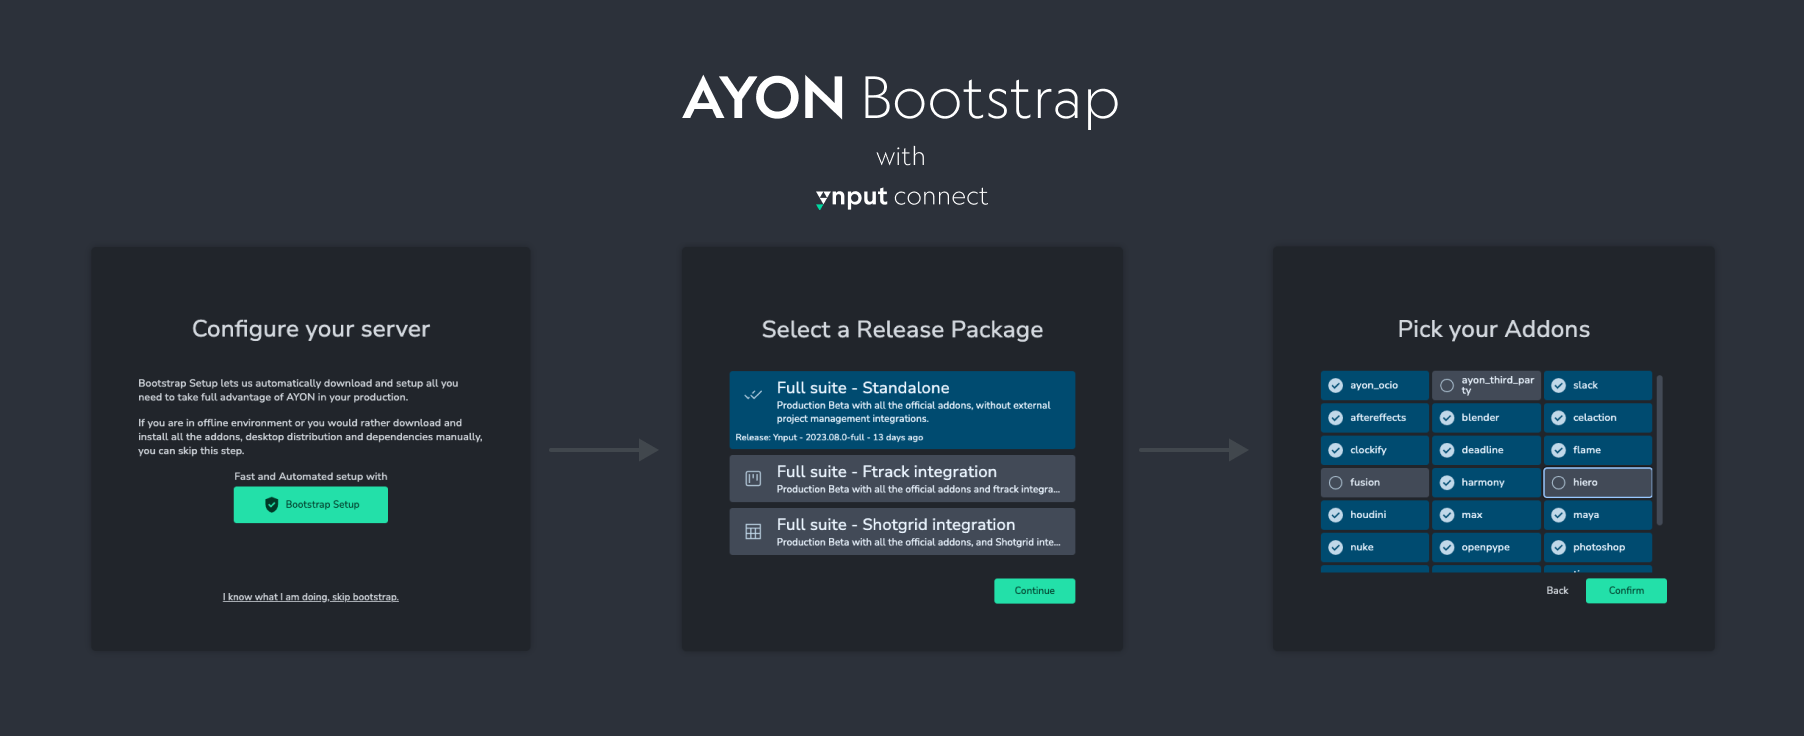
This is a simplified guide that provides minimal straightforward basic setup.
This guide is more for people who face difficulties and would like an easy step by step guide
Feel free to do any steps in your own way
Linux Virtual Machine Notes
AYON will be deployed on that VM machine.
I prefer using VMs because you can repeat the process without getting worried about cleaning old files because you’d only will delete the VM files and that’s it.
My Setup:
- Minimum machine requirements: 1 processors and 2 GB Ram, 50 GB storage
- Setting Network to
Bridged Adapter, which makes it accessible via local network. - Setting a static IP address for my VM and will refer to that IP as
{Server_IP}
🛠️ Steps for VM Setup.
Here you are some tutorials:
🛠️ Steps for Docker Setup.
Here you are some easy steps
curl -fsSL https://get.docker.com -o install-docker.sh
sudo sh install-docker.sh
sudo docker run hello-world
Hopefully, you should get
![]()
AYON Server Deployment
There are many ways to deploy (install and run) Ayon Server
However I prefer using Linux terminal because it detects and installs all the dependencies
Then it runs Ayon server with the default settings
At this point, you can follow the steps mentioned in the ayon-docker readme on GH.
Tweaking
docker-compose.ymlcan be a little tricky especially when you use volumes in docker compose, updating is slightly different and for those having mounted backend and/or frontend as volumes it can be a little tricky.
In essences, running docker with the default settings is as simple as
cd your-preferred-dir
git clone https://github.com/ynput/ayon-docker.git
cd ayon-docker
sudo docker compose up -d
(optional) get demo projects
sudo make demo
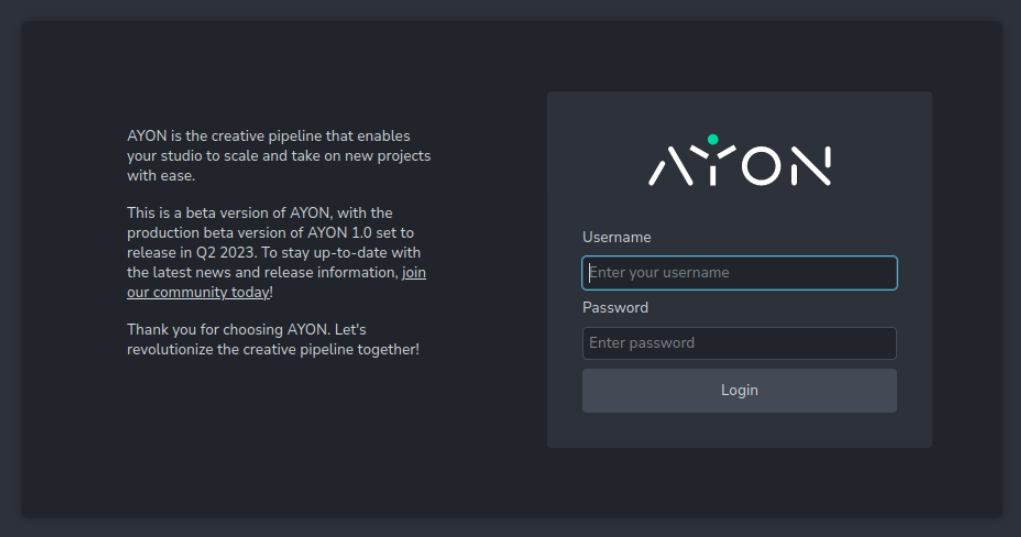
Then in your web browser, Navigate to http://{Server_IP}:5000/ on your device ( or http://localhost:5000/ on your VM)
Then log in as admin/admin
This account is defined here
Update AYON Server
pull updates and re-run the server with its dependencies
cd your-ayon-docker-repo-clone
sudo docker compose pull
sudo docker compose up -d
Basic Administration
In order to test AYON pipeline, you have to do a minimal configuration
- Create a bundle
- Set DCC’s executable
- Set OCIO Configs (optional)
- Create project presets (optional)
- Create project and asset
If you didn’t deploy AYON yet and are curious about these settings, then you can go to AYON Playground to explore how AYON looks like.
Create your first bundle
A Bundle is a capture of the settings at a particular time which specifies addons versions and settings.
Ayon consider bundles marked production and staging as the studio settings.
Create Bundle, Set to production and, and update dependency packages
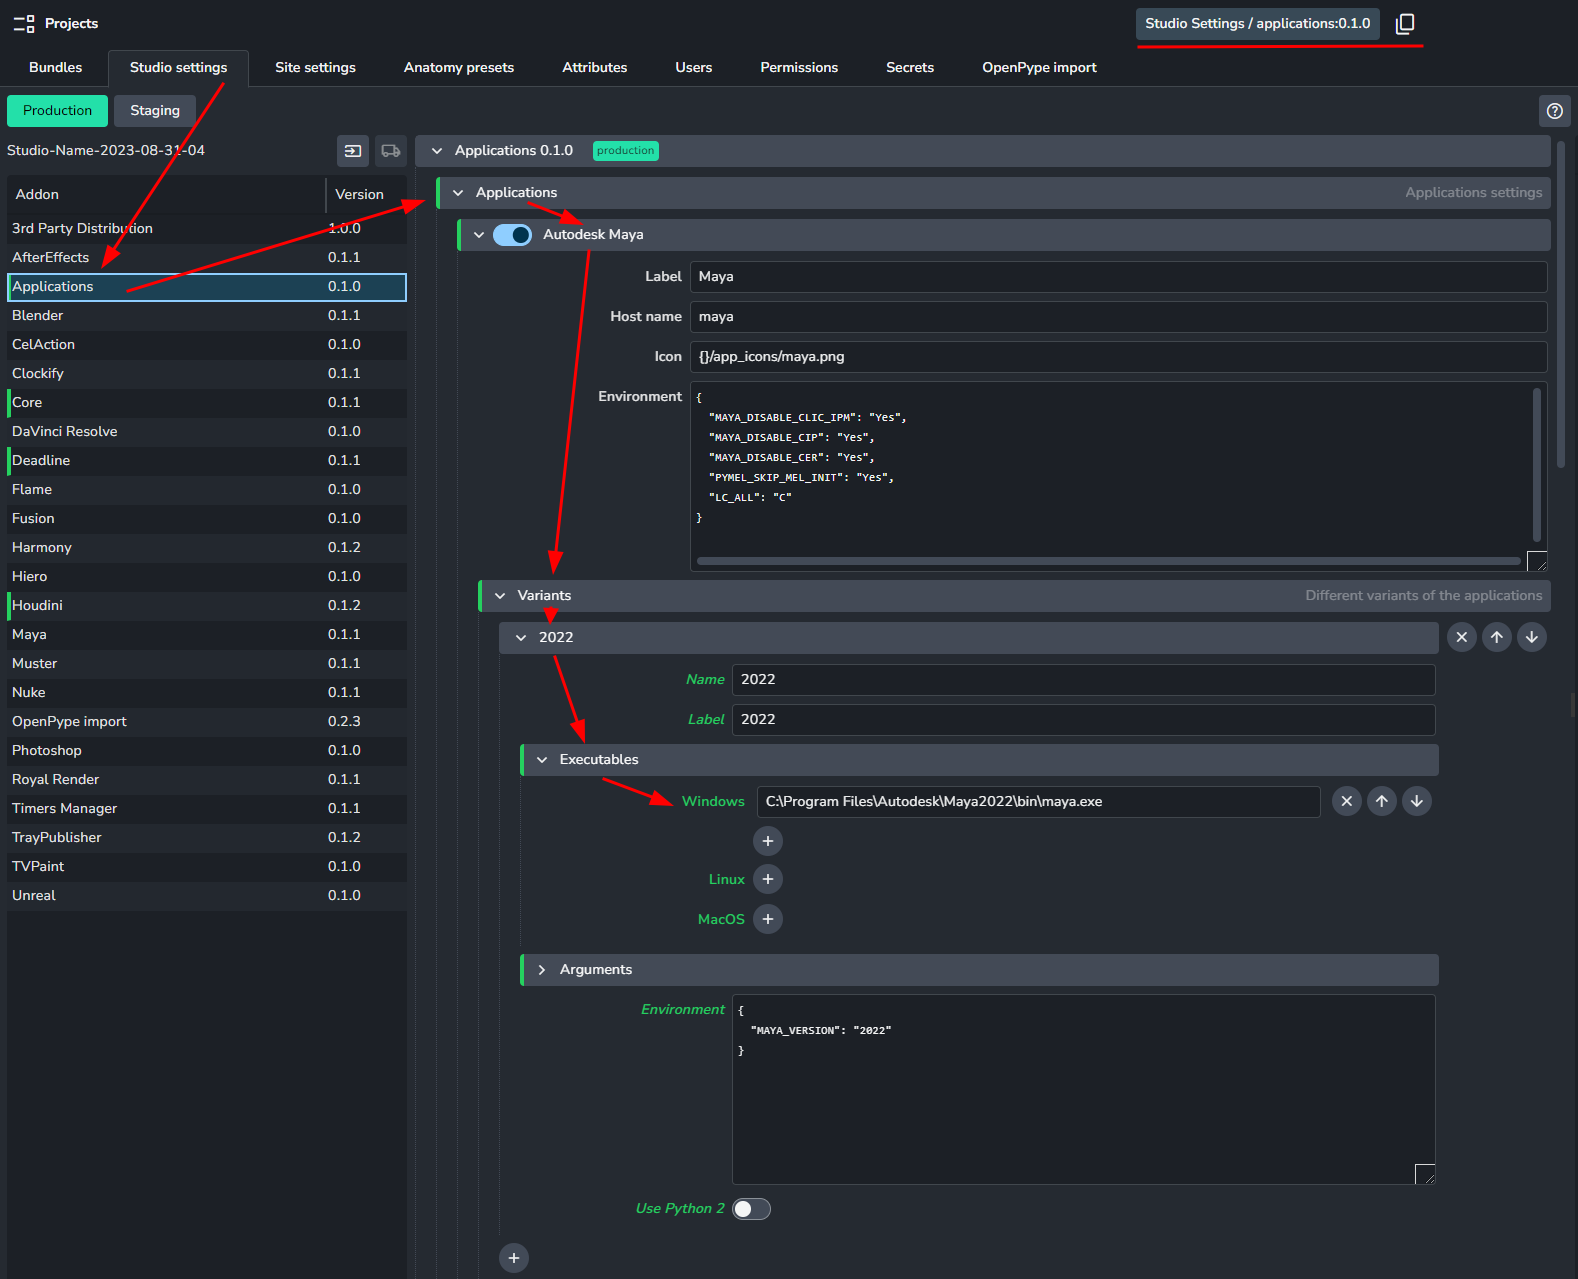
Set DCC executables paths
Studio Settings / Applications, System Settings | AYON Docs
It isn’t possible to override executables paths per project.
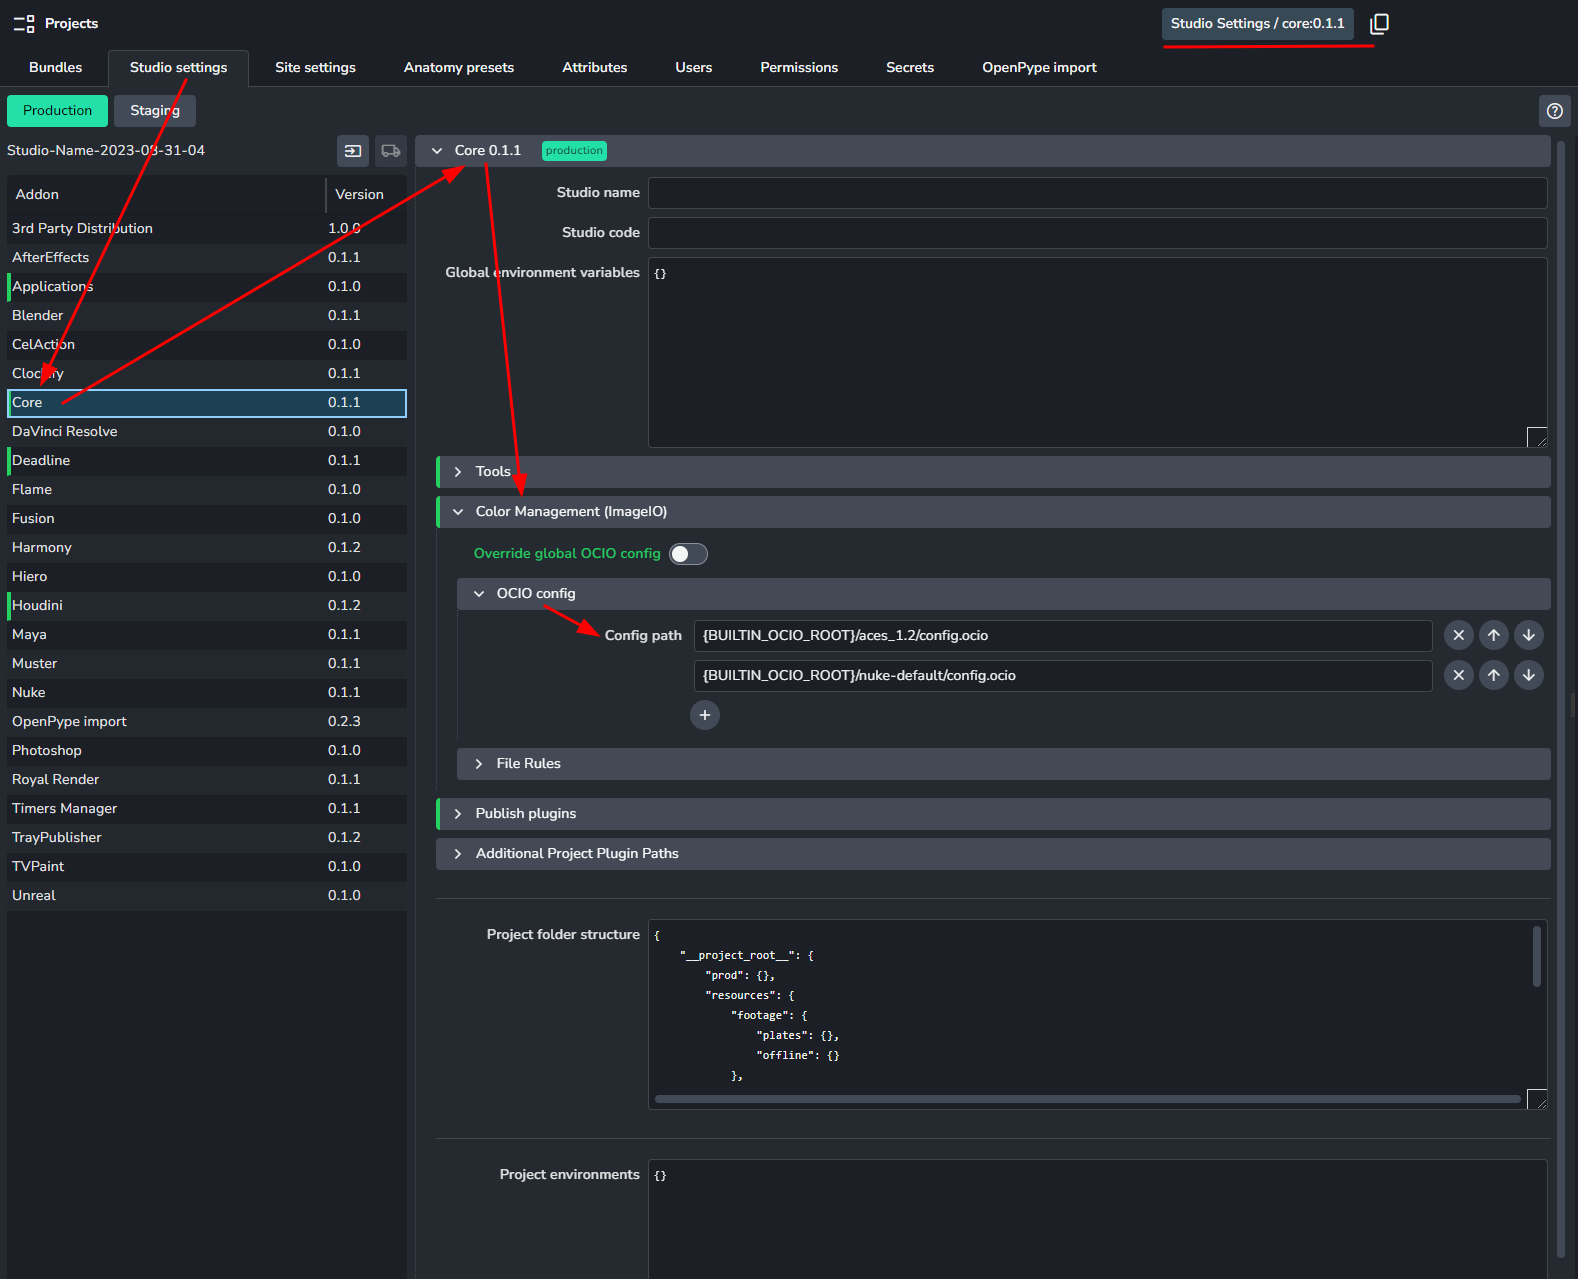
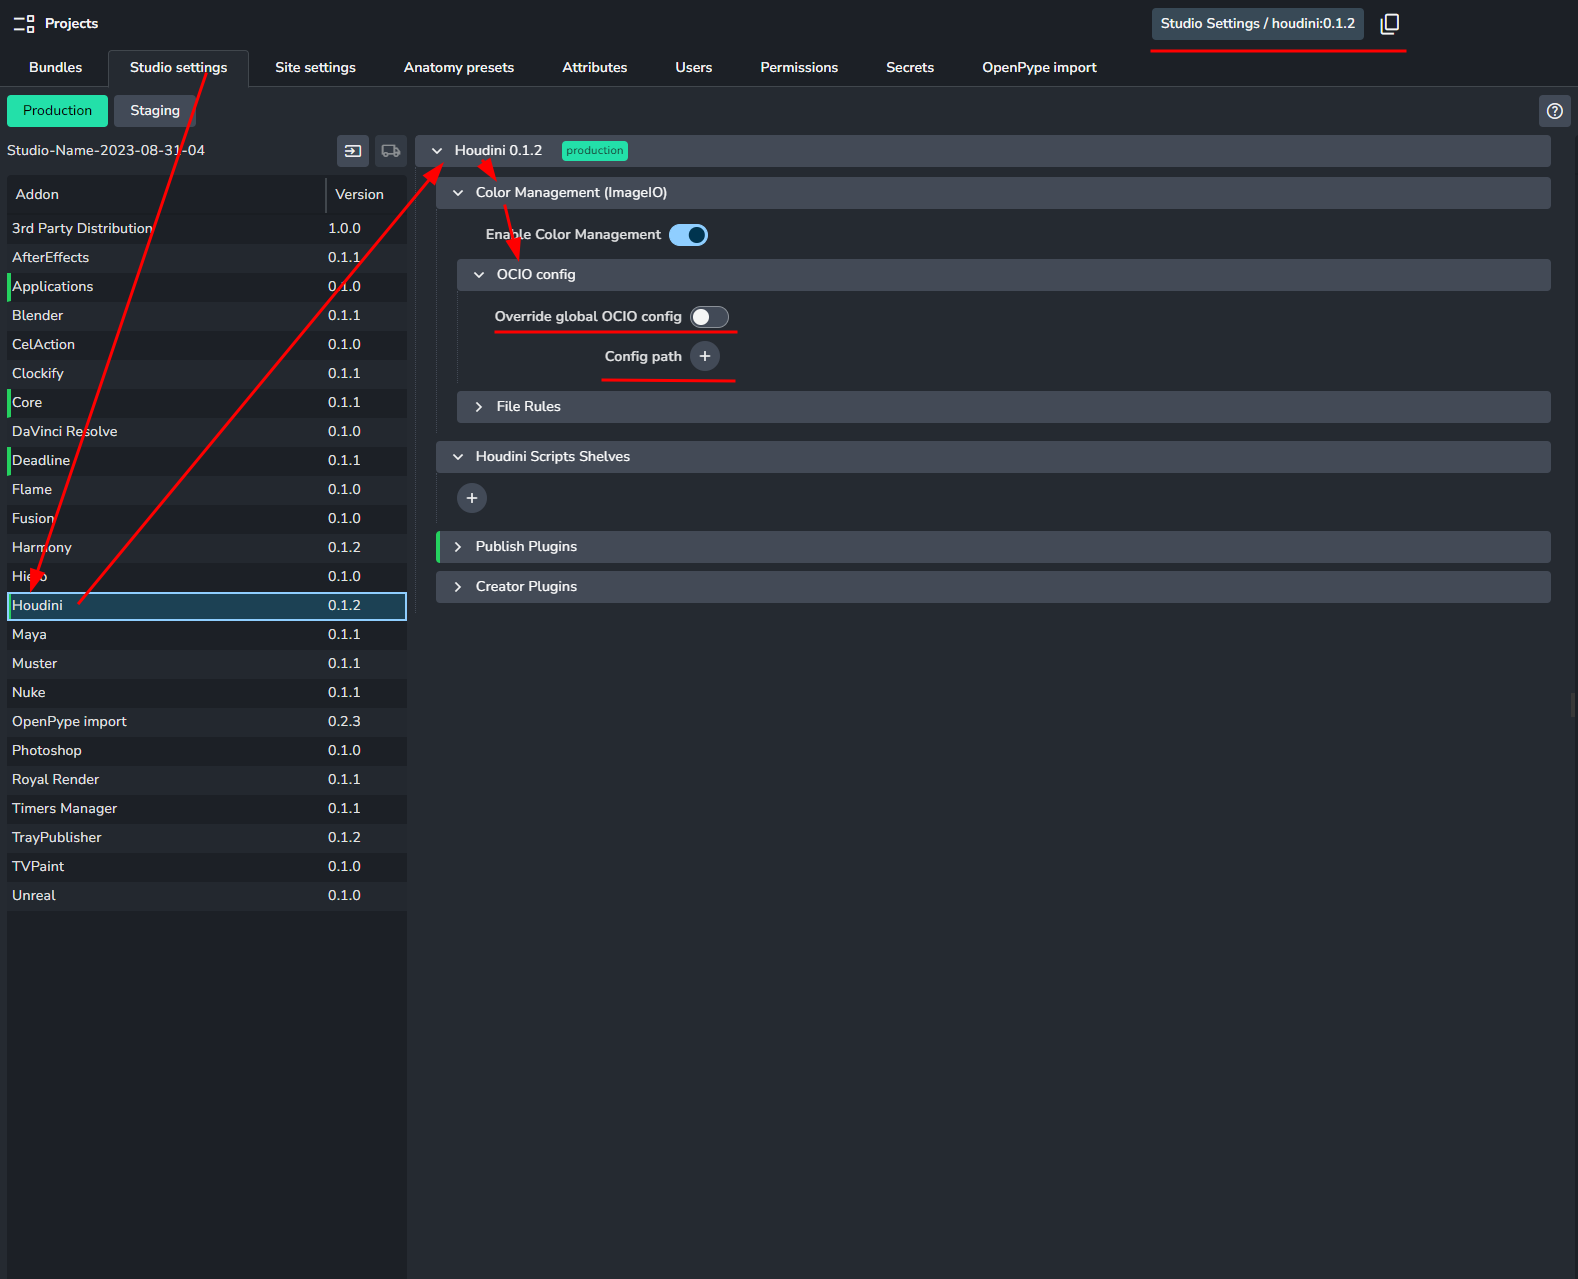
Set OCIO Config Path
It’s possible to set OCIO config path per studio, per project, per host.
For new comers to avoid any confusion, you may find it easier to only modify studio settings.
Studio Settings / Core, Core | AYON Docs
- Studio settings ->Core → Color Management → OCIO config
- Studio settings → Host → Color Management → OCIO config
Create Project presets
A project preset is a collection of preconfigured project settings
The most two essential items are Roots and Applications
Read more, Project Anatomy | AYON Docs
- Roots: where files are stored with path to a shared folder.
- Applications: List of applications that can be used in the project. [deprecated] This section is deprecated and replaced by applications filters in application settings.
I created a new preset and named it
Default

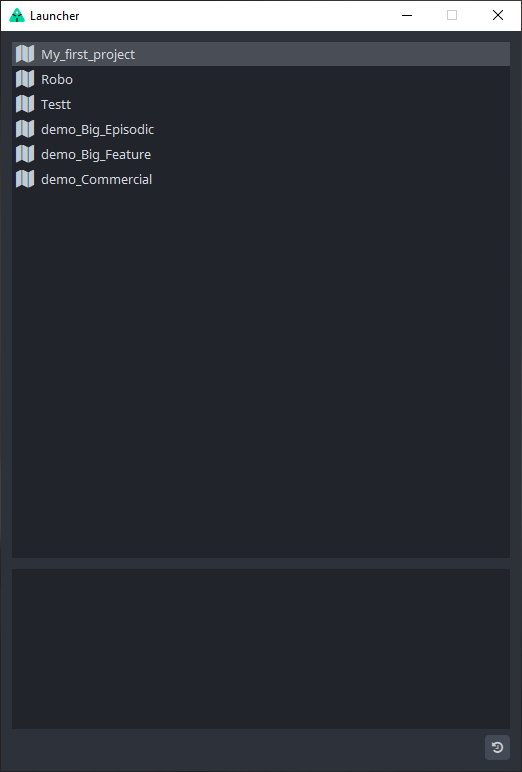
Create your First Project and Asset
In order to test Ayon pipeline, you’d need at least one project that includes at least one asset with at least one task assigned.
Get AYON Launcher
Ayon Launcher is a desktop app that runs on artists machines, it’s required to install it per machine.
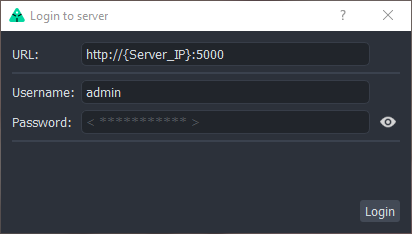
login to AYON from user machines and download installer
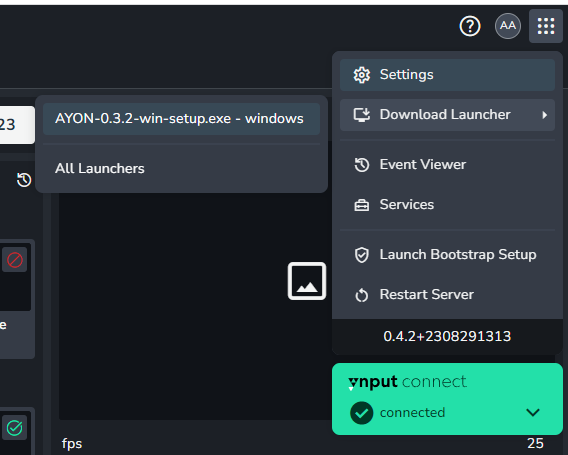
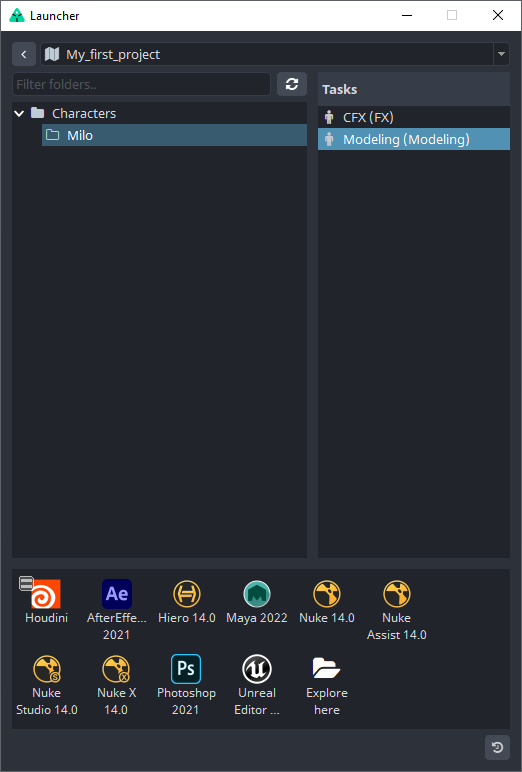
Run AYON Launcher
It’s required to launch DCC applications through AYON’s desktop launcher as AYON runs important pre launch scrips called LaunchHooks which set AYON environment for your launched DCC Session.
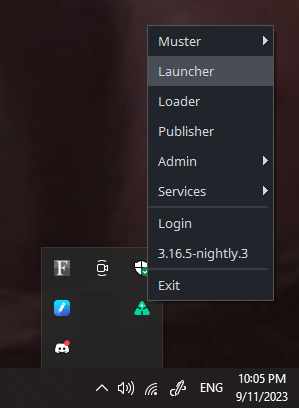
| Login | Tray > Launcher | Select Project | Select Asset and Task |
Create New Addons
Ayon comes with stock addons using the bootstrap process.
Deprecated
Also, you can create addons directly from Openpype repo as follows:
Read more Addons for AYON server
Clone OpenPype Repo
cd your-preferred-dir
git clone https://github.com/ynput/OpenPype.git
Run addons creator
it creates addon packages inside {OpenPype repo}/server_addon/packages/
cd your-preferred-dir/OpenPype
python ./server_addon/create_ayon_addons.py
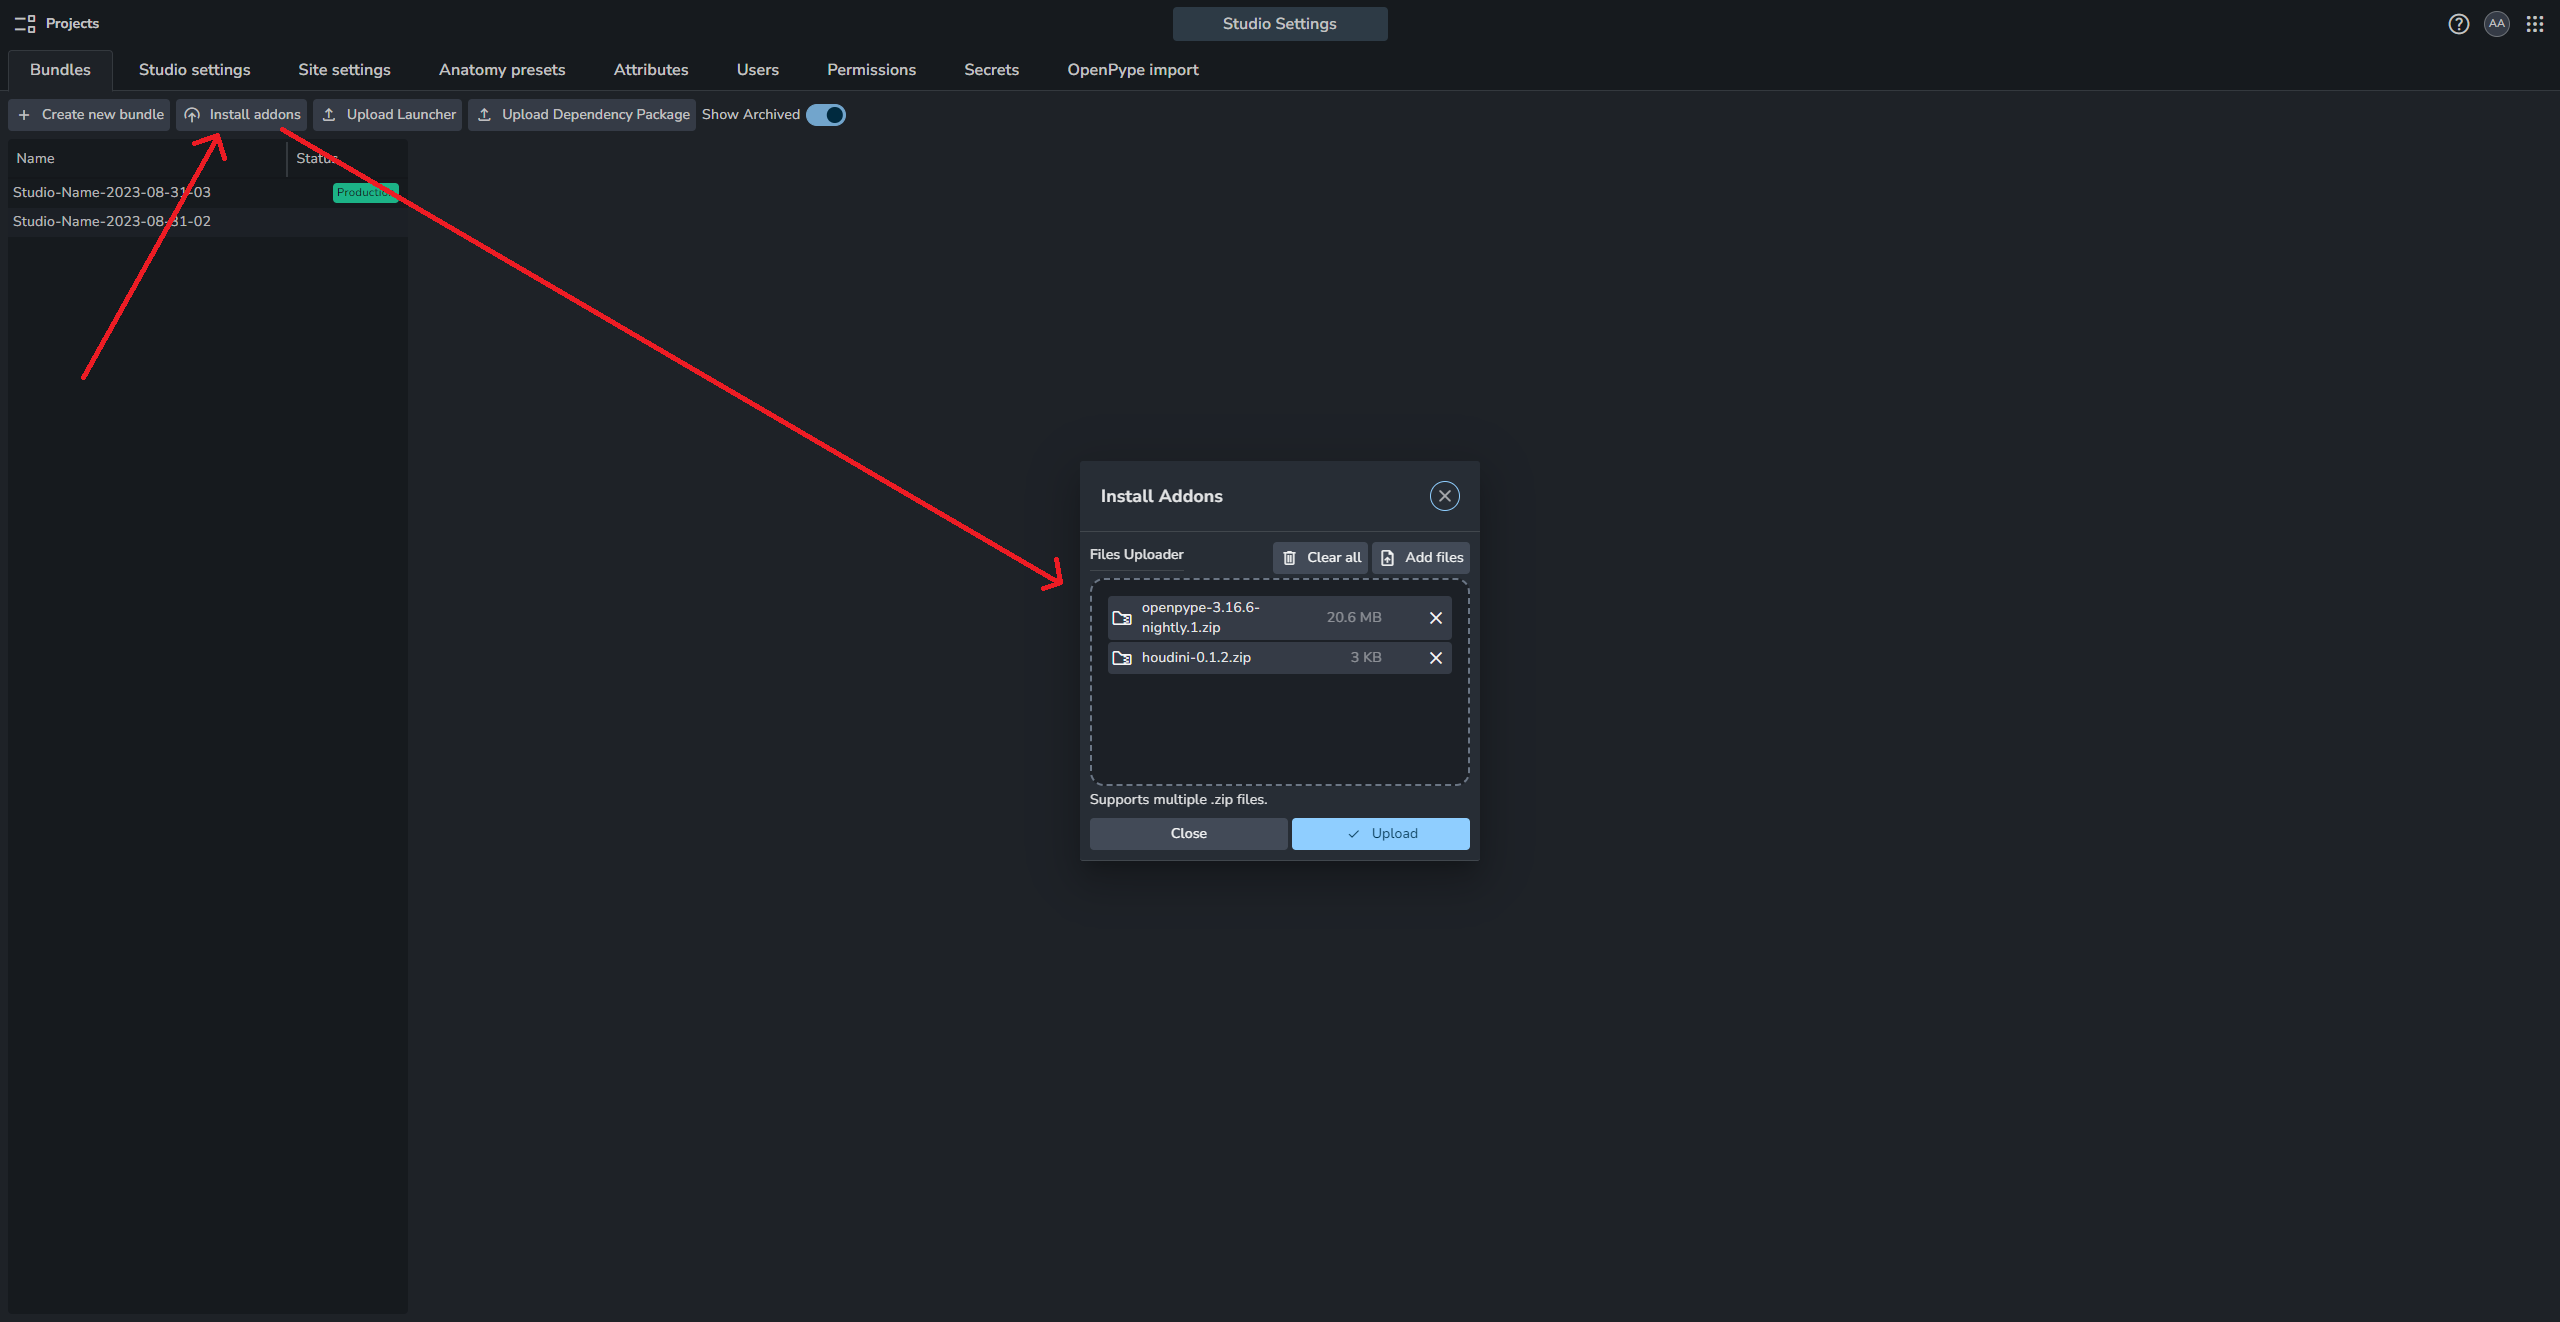
Install Addon
For updated info, see How to update an Addon - AYON
Head to AYON and upload them
| Drag and Drop | Restart Server |
Create new Bundle with the new Addon
Create bundles and specify addons versions.
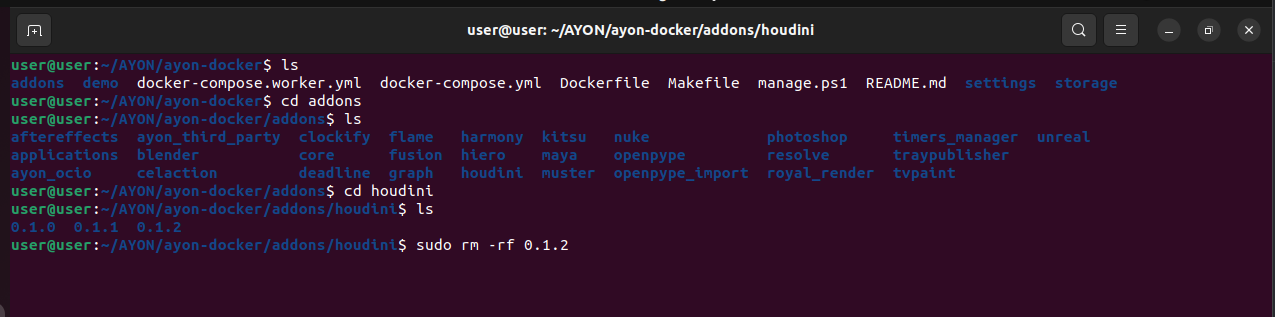
¡Caution!
By default, AYON will save addons to the
addonsdirectory specified indocker-compose.ymlwhich is the default{ayon-docker-repo}/addonsin our case.
Uploading addon version that already exists in AYON may not replace it.
So, consider deleting that particular addon version in addons directory first.
So, In order to upload my new houdini-0.1.2, I have to delete the existing{ayon-docker-repo}/addons/houdini/0.1.2
AYON Server Host (ASH)
ASH worker is used to run AYON services (e.g. ftrack sync services)
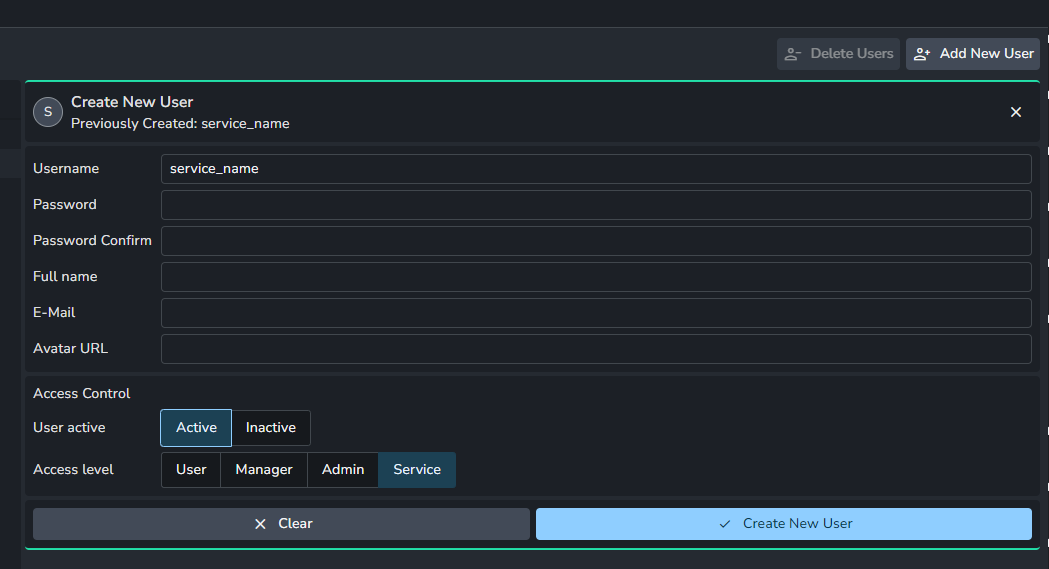
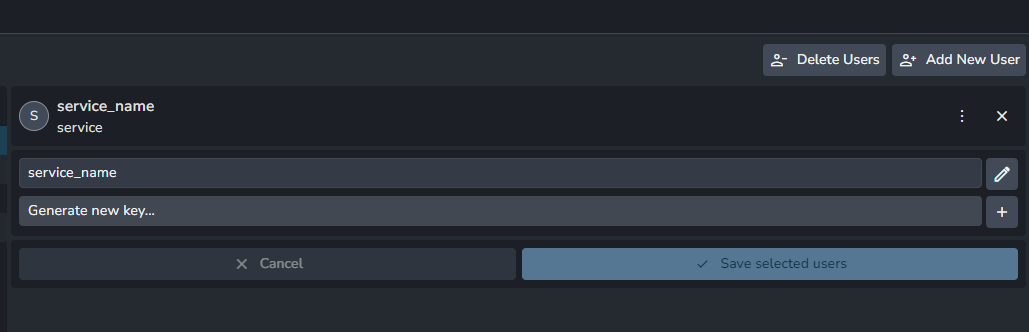
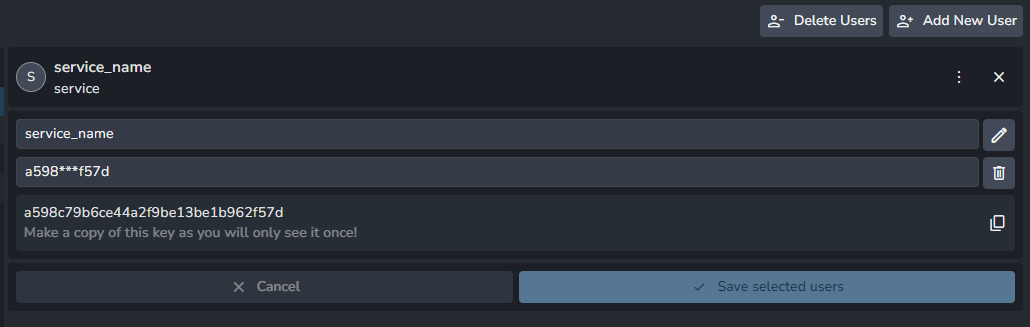
Get AYON_API_KEY
ASH requires an API key to communicate with Ayon server.
| Create Service User | Generate Key | Copy Key |
Get ASH
pull the latest ash docker image
sudo docker pull ynput/ayon-ash:latest
Run Service Host
the easiest way is to run ash as a part of your main stack.
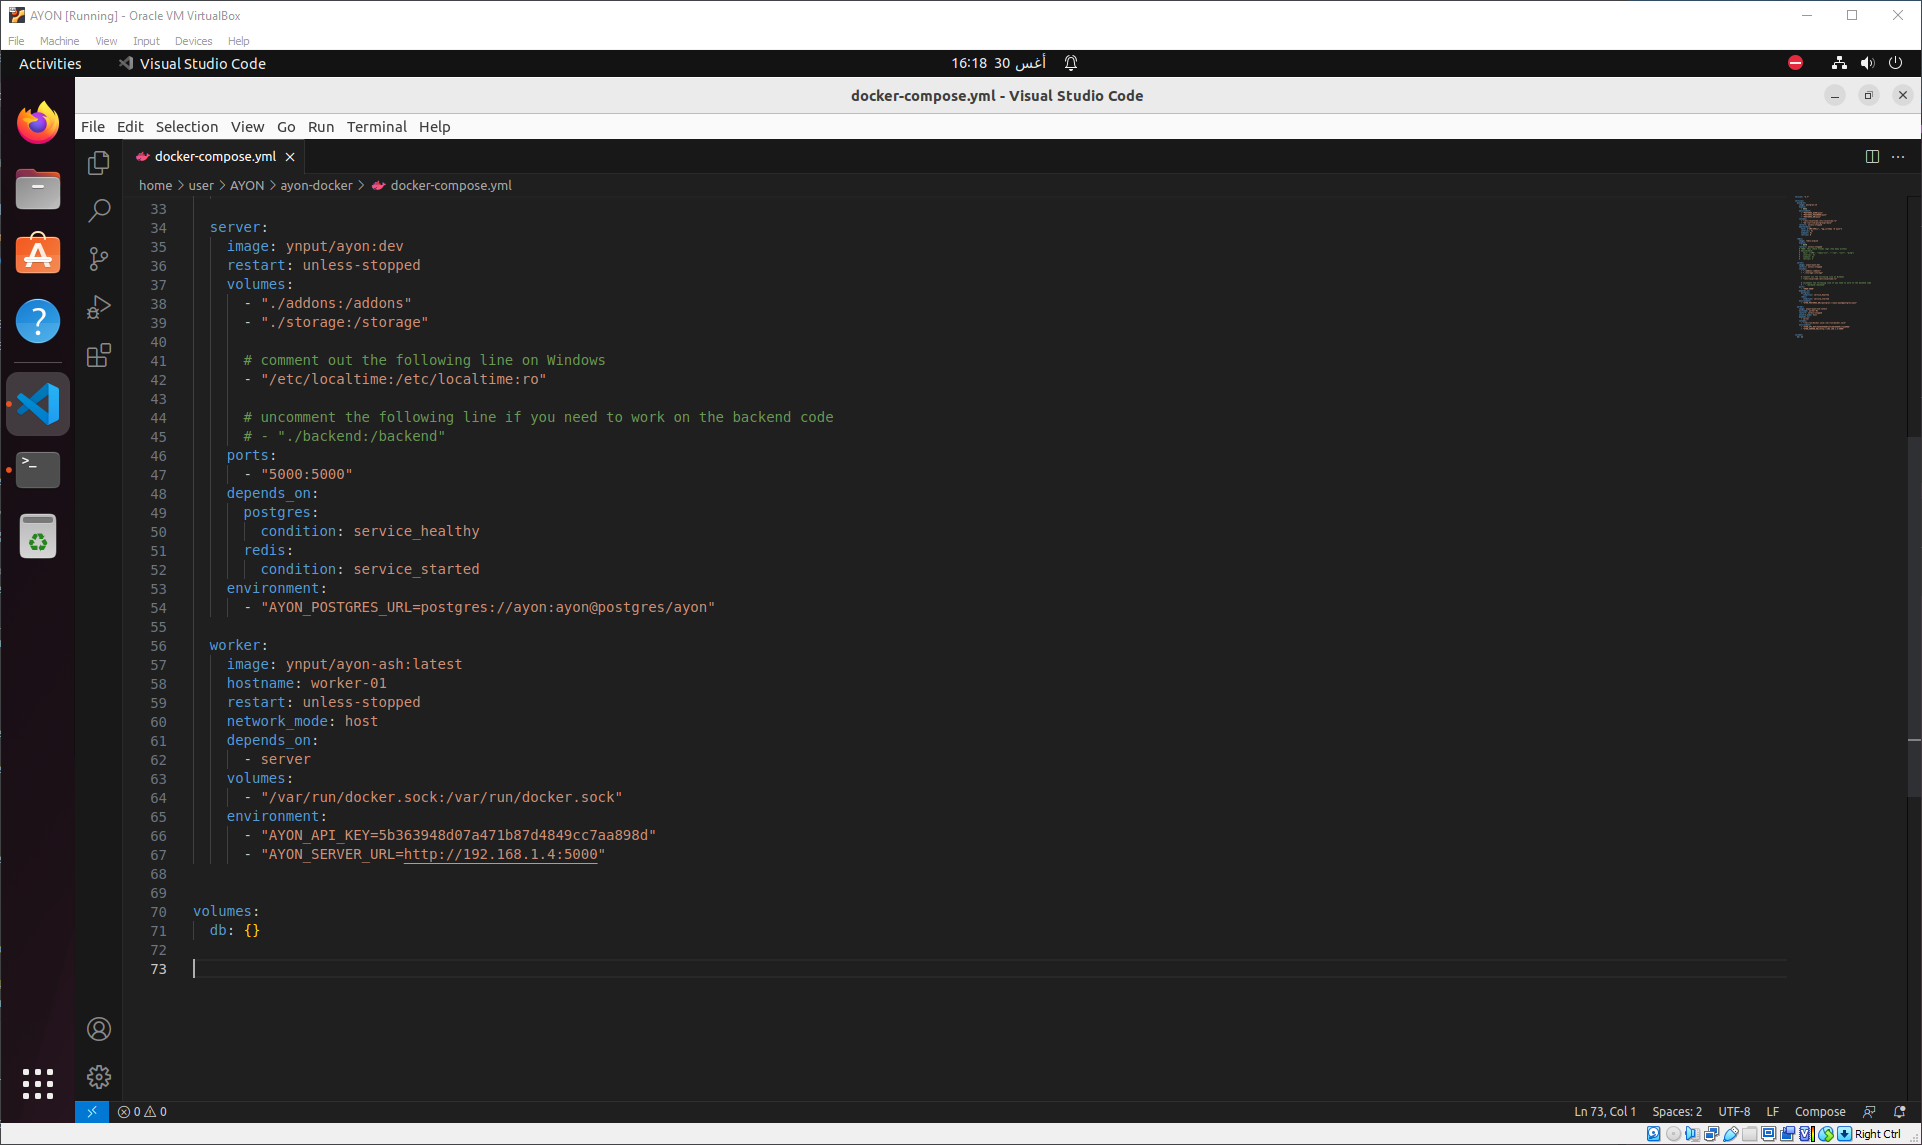
By editing the docker-compose file in AYON Repo
{ayon-docker-repo}/docker-compose.yml
  worker:
    image: ynput/ayon-ash:latest
    hostname: worker-01
    restart: unless-stopped
    network_mode: host
    depends_on:
      - server
    volumes:
      - "/var/run/docker.sock:/var/run/docker.sock"
    environment:
      - "AYON_API_KEY=service-user-ayon-api-key"
      - "AYON_SERVER_URL=http://{Server_IP}:5000"
This is how my docker compose looks like.
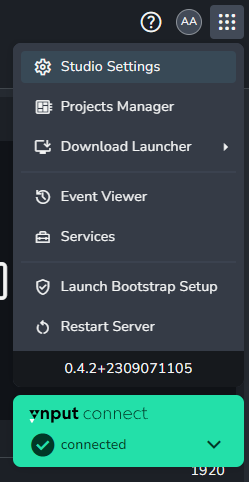
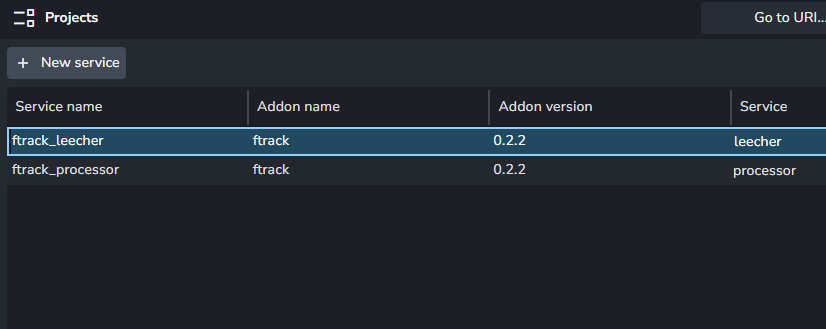
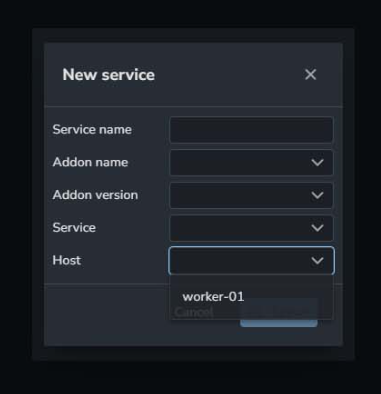
Add New Services
From Settings/Services ![]()
you will be able to find your new ASH worker
To actually create a service, you will need to install its addon!
We’ve only set up service worker (host).
Next Steps
I think the next steps are to start learning more about AYON Administration
- server
- add new users
- add new projects
- Bundles
- services
- pipeline administration
- project settings
Also, check docs , production beta testing notes , AYON docker repo